Hallway Wall Art: Complete Guide to Sizing, Placement & Styling Narrow Spaces
- by Timmy LovesArt
Hallway wall art should be 16x20 to 24x36 inches for standard 36-48 inch wide hallways. Hang prints at 57-60 inches from floor to center, spacing them 40-60 inches apart for gallery walls. Portrait-oriented prints work best in narrow hallways, making spaces appear taller and less cramped. Use 3-5 coordinating prints for optimal visual impact without overwhelming the space.
This comprehensive guide covers everything you need to transform your hallway from overlooked passage to stylish gallery, including exact measurements, placement formulas, and styling strategies specifically for narrow spaces.
Last Updated: March 2025
Table of Contents
- Hallway Wall Art Sizing Guide
- Placement Rules for Narrow Spaces
- Best Print Styles for Hallways
- Creating Hallway Gallery Walls
- Color Selection for Hallways
- Framing Options for Narrow Spaces
- Common Hallway Art Mistakes
- FAQ: Hallway Wall Art
1. Hallway Wall Art Sizing Guide
The right size prevents your hallway from feeling cluttered or empty. Use these formulas:
Standard Hallway Widths
Narrow Hallways (36-42 inches wide):
- Single prints: 16x20 to 20x24 inches
- Gallery wall: 12x16 to 16x20 inches per piece
- Maximum art width: 24 inches
Standard Hallways (42-48 inches wide):
- Single prints: 20x24 to 24x36 inches
- Gallery wall: 16x20 to 20x24 inches per piece
- Maximum art width: 30 inches
Wide Hallways (48+ inches wide):
- Single prints: 24x36 to 30x40 inches
- Gallery wall: 20x24 to 24x30 inches per piece
- Maximum art width: 36 inches
Portrait vs. Landscape Orientation
Portrait (vertical) prints are ideal for hallways because they:
- Make ceilings appear higher
- Draw the eye upward
- Take less horizontal wall space
- Create better flow in narrow areas
Use portrait orientation for:
- Hallways under 48 inches wide
- Spaces with 8-foot ceilings
- Long, narrow corridors
- Gallery walls in tight spaces
Landscape (horizontal) prints work when:
- Hallway is 54+ inches wide
- You have a single focal wall
- Above console tables or benches
- Ceilings are 9+ feet high

2. Placement Rules for Narrow Spaces
The 57-60 Inch Rule
Standard placement: Hang art so the center is 57-60 inches from the floor. This is the museum standard and works for most hallways with 8-foot ceilings.
Exception for high ceilings (9+ feet):
- Raise center point to 60-63 inches
- Prevents art from feeling grounded too low
Spacing Between Multiple Prints
For gallery walls:
- Space prints 2-3 inches apart (tight spacing)
- Or 4-6 inches apart (breathing room)
- Maintain consistent spacing throughout
For linear arrangements (single row):
- Space prints 40-60 inches apart (center to center)
- Example: In a 12-foot hallway, use 3 prints spaced 48 inches apart
Above Furniture Placement
Console tables or benches:
- Leave 6-8 inches between furniture top and art bottom
- Art width should be 2/3 the furniture width
- Example: 36-inch console = 24-inch wide art
3. Best Print Styles for Hallways
Different print styles create different effects in narrow spaces. Choose based on your hallway's natural light and width.
Abstract & Geometric Prints
Best for: Modern homes, creating visual interest, adding energy
Why they work in hallways:
- Bold shapes draw the eye forward
- Don't require close viewing to appreciate
- Create movement in static spaces
- Work well in series for gallery walls
Recommended styles:
- Colorful abstract compositions
- Geometric line art
- Minimalist shapes
- Bold color blocks
Botanical & Nature Prints
Best for: Traditional homes, creating calm, adding freshness
Why they work in hallways:
- Bring life to windowless spaces
- Create peaceful transition zones
- Easy to coordinate colors
- Timeless appeal
Recommended styles:
- Vintage botanical illustrations
- Pressed flower prints
- Leaf and fern designs
- Watercolor florals
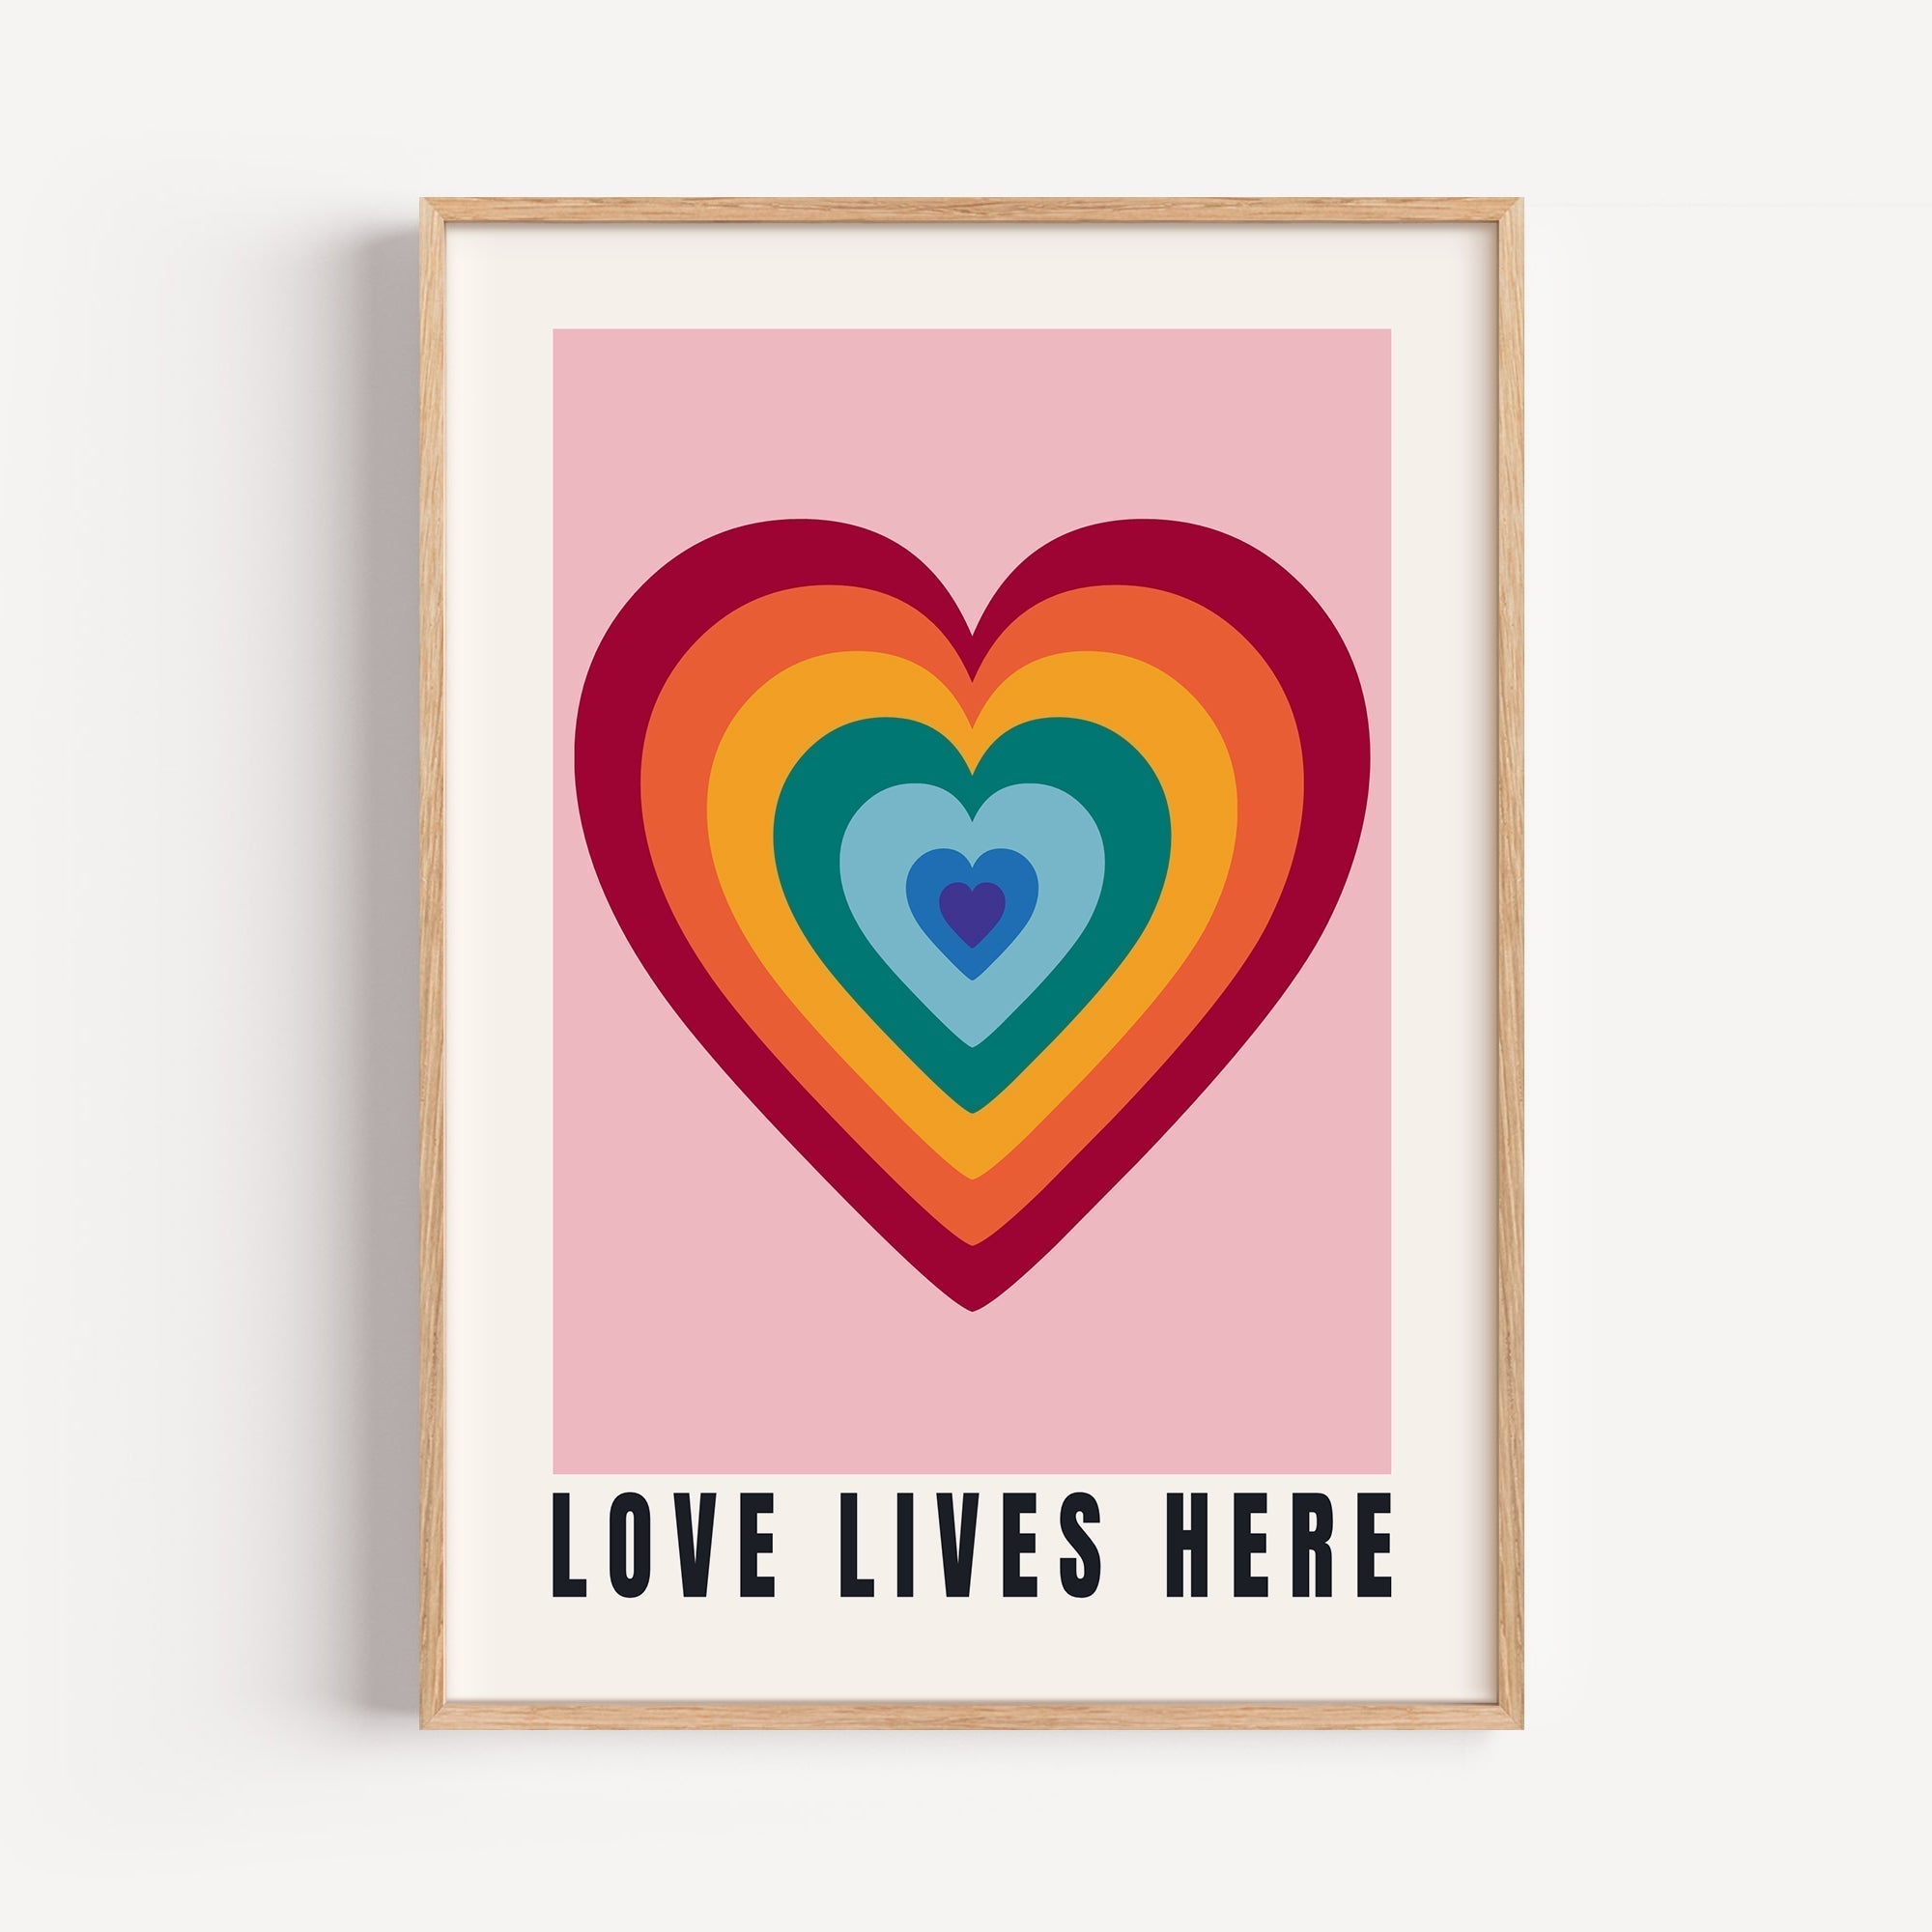
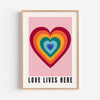
Typography & Quote Prints
Best for: Contemporary spaces, adding personality, conversation starters
Why they work in hallways:
- Readable while walking
- Add personal meaning
- Create focal points
- Work well mixed with other styles
Recommended styles:
- Motivational quotes
- French phrases (C'est la Vie, Bonjour)
- Single-word statements
- Minimalist typography
Landscape & Scenic Prints
Best for: Creating depth, adding windows to windowless halls, escapism
Why they work in hallways:
- Create visual "windows"
- Make narrow spaces feel more open
- Add atmospheric mood
- Provide destinations for the eye
Recommended styles:
- Serene landscapes
- Beach and ocean scenes
- Mountain vistas
- City skylines
Black & White Photography
Best for: Sophisticated look, high-contrast impact, budget-friendly cohesion
Why they work in hallways:
- Easy to mix and match
- Work with any color scheme
- Create gallery-like atmosphere
- Timeless aesthetic
Recommended styles:
- Architectural photography
- Nature close-ups
- Abstract compositions
- Vintage photographs

4. Creating Hallway Gallery Walls
Gallery walls maximize visual impact in narrow spaces without requiring large individual pieces.
Gallery Wall Layouts for Hallways
Linear Gallery (Single Row):
- Best for: Very narrow hallways (under 42 inches)
- Layout: 3-5 prints in one horizontal line
- Spacing: 40-60 inches apart
- Size consistency: All same size for clean look
Vertical Stack (2-3 High):
- Best for: Standard hallways (42-48 inches)
- Layout: Prints stacked vertically, multiple columns
- Spacing: 2-4 inches between prints
- Grid effect: Creates organized, modern feel
Asymmetric Mix:
- Best for: Wide hallways (48+ inches)
- Layout: Varied sizes, organic arrangement
- Spacing: 3-6 inches between pieces
- Visual interest: Most dynamic option
Gallery Wall Formulas
3-Piece Vertical:
- Three 16x20 inch prints
- Stacked with 4 inches between
- Total height: 68 inches
- Perfect for 8-foot ceilings
5-Piece Linear:
- Five 16x20 inch prints
- Single row, 48 inches apart
- Needs: 20-foot hallway minimum
- Creates rhythm and flow
9-Piece Grid:
- Nine 12x16 inch prints
- 3 across, 3 high
- 3 inches spacing between
- Total dimensions: 42x57 inches
Planning Your Gallery Wall
Step 1: Measure your wall
- Length and height available
- Note obstacles (thermostats, light switches)
- Identify anchor points
Step 2: Choose your prints
- Select 3-9 coordinating pieces
- Vary sizes if doing asymmetric layout
- Maintain consistent theme or color palette
Step 3: Create a template
- Cut paper templates of each print size
- Tape to wall to test arrangement
- Adjust until satisfied
Step 4: Mark and hang
- Mark nail positions through paper templates
- Start with center or anchor piece
- Work outward maintaining consistent spacing
5. Color Selection for Hallways
Color choice dramatically affects how narrow hallways feel.
Colors That Expand Space
Light & Bright Prints:
- Whites, creams, soft pastels
- Make hallways feel wider and airier
- Reflect light in dim corridors
- Best for: Windowless or narrow hallways
Cool Tones:
- Blues, greens, soft grays
- Visually recede, creating depth
- Calming transition spaces
- Best for: High-traffic hallways
Colors That Add Energy
Warm & Bold Prints:
- Reds, oranges, yellows, warm pinks
- Create welcoming, vibrant atmosphere
- Draw attention and conversation
- Best for: Well-lit, wider hallways
High Contrast:
- Black and white with accent colors
- Creates dramatic impact
- Makes statement in small spaces
- Best for: Modern or eclectic homes
Coordinating with Existing Decor
Match to adjacent rooms:
- Pull accent colors from living areas
- Create flow through your home
- Hallway becomes bridge, not island
Complement wall color:
- Light walls → any color prints work
- Dark walls → high contrast or metallics
- Colored walls → neutrals or complementary tones

6. Framing Options for Narrow Spaces
Frame choice affects both aesthetics and perceived space.
Frame Styles for Hallways
Thin Black Frames (0.5-0.75 inches):
- Modern, minimalist look
- Don't overwhelm narrow spaces
- Easy to mix and match
- Best for: Gallery walls, contemporary homes
Natural Wood Frames (0.75-1 inch):
- Warm, organic feel
- Add texture without bulk
- Versatile across styles
- Best for: Botanical prints, traditional homes
White/Light Frames:
- Maximize light reflection
- Blend with walls in narrow spaces
- Clean, fresh appearance
- Best for: Small hallways, cottage style
No Frame (Canvas or Mounted Prints):
- Maximum image area
- Contemporary aesthetic
- Lightest visual weight
- Best for: Modern prints, very narrow spaces
Matting Considerations
Skip mats in narrow hallways:
- Mats add bulk and reduce image size
- Take valuable wall space
- Can make hallways feel more cramped
Use mats only when:
- Hallway is 54+ inches wide
- You want museum-quality presentation
- Protecting valuable original art
7. Common Hallway Art Mistakes to Avoid
Mistake #1: Art Too Large for Space
Problem: Prints wider than 60% of hallway width feel overwhelming
Solution:
- Measure hallway width
- Art should be maximum 50-60% of width
- Example: 40-inch hallway = 24-inch max art width
Mistake #2: Hanging Too High or Low
Problem: Art at wrong height disrupts flow and proportion
Solution:
- Stick to 57-60 inches (center of art to floor)
- Resist urge to place higher in tall spaces
- Test with paper templates first
Mistake #3: Too Much Spacing Between Prints
Problem: Gallery walls feel disconnected and awkward
Solution:
- Use 2-6 inches maximum between prints
- Tight spacing creates cohesion
- Wide spacing requires very long hallways
Mistake #4: Mixing Too Many Styles
Problem: Eclectic becomes chaotic in narrow spaces
Solution:
- Limit to 2-3 complementary styles
- Use consistent color palette
- Examples of good mixes:
- Botanicals + typography
- Abstract + geometric
- All black and white photos
Mistake #5: Ignoring Lighting
Problem: Art invisible in dim hallways
Solution:
- Add picture lights or LED strips
- Consider battery-operated lights
- Position prints to catch existing light
- Use glass-free frames to avoid glare
Mistake #6: Forgetting Scale Throughout
Problem: All same-size prints feel monotonous
Solution:
- Vary sizes within 4-inch increments
- Example: Mix 16x20, 20x24, 24x30
- Maintain similar proportions (all portrait)
- Create visual rhythm

8. Step-by-Step: Transforming Your Hallway
Week 1: Planning Phase
Day 1-2: Measure & Assess
- Measure hallway: length, width, ceiling height
- Note existing features: doors, switches, furniture
- Photograph current state
- Determine budget
Day 3-4: Choose Your Style
- Browse hallway print collections
- Create mood board or Pinterest board
- Select 3-5 favorite prints
- Consider color scheme
Day 5-7: Plan Layout
- Decide: single prints or gallery wall
- Create paper templates
- Test arrangements on wall
- Finalize selection and order prints
Week 2: Installation
Day 1-2: Gather Supplies
- Frames (if needed)
- Hanging hardware
- Level
- Pencil
- Hammer or drill
- Measuring tape
Day 3-5: Hang Art
- Start with centermost or anchor piece
- Use level for precision
- Maintain consistent spacing
- Step back frequently to assess
Day 6-7: Final Touches
- Adjust any crooked pieces
- Clean glass and frames
- Add lighting if planned
- Style with complementary decor
FAQ: Hallway Wall Art
How many prints should I put in a hallway?
For standard 8-12 foot hallways, use 3-5 prints for optimal visual interest without overcrowding. Very long hallways (15+ feet) can accommodate 7-9 prints. Space them 40-60 inches apart (center to center) for proper rhythm. Gallery walls work well with odd numbers: 3, 5, 7, or 9 pieces create better visual balance than even numbers.
What size art for a 36-inch wide hallway?
In a 36-inch wide hallway, use prints no larger than 20-24 inches wide. The ideal size is 16x20 or 18x24 inches in portrait orientation. This leaves adequate breathing room on both sides while preventing the space from feeling cramped. For gallery walls, use 12x16 or 16x20 inch prints with 2-3 inches spacing between pieces.
Should hallway art be vertical or horizontal?
Hallway art should be vertical (portrait orientation) in spaces under 48 inches wide. Vertical prints make ceilings appear higher and take less horizontal wall space, which is crucial in narrow corridors. Use horizontal (landscape) prints only in hallways wider than 54 inches or above console tables in wider spaces.
How far apart should hallway pictures be hung?
Pictures in hallways should be spaced 40-60 inches apart (measured center to center) for single-row arrangements. For gallery walls, space individual prints 2-6 inches apart—tighter spacing (2-3 inches) creates cohesion in narrow hallways, while wider spacing (4-6 inches) works better in hallways over 48 inches wide.
What type of art makes hallways look wider?
Light-colored prints with cool tones (blues, greens, soft grays) make hallways appear wider by creating visual depth. Abstract designs, horizontal lines, and prints with perspective (like landscape scenes or architecture) also enhance the sense of space. Avoid dark, heavy prints or frames wider than 60% of the hallway width.
How high should I hang hallway art with 8-foot ceilings?
With standard 8-foot ceilings, hang art so the center is 57-60 inches from the floor. For portrait-oriented prints (which work best in hallways), this typically means the top of a 24-inch tall print sits around 69-72 inches from the floor. This creates comfortable viewing height for most adults.
Can I mix different frame colors in a hallway?
While possible, it's best to stick with one frame color throughout a hallway to maintain visual flow in the narrow space. Black frames create a modern gallery feel, natural wood adds warmth, and white frames maximize brightness. Mixing frame colors in hallways can feel chaotic unless the hallway is extra wide (54+ inches) and you're intentionally creating an eclectic look.
What's the best lighting for hallway art?
LED picture lights or track lighting work best for hallway art, providing focused illumination without taking floor space. Battery-operated LED lights are ideal for rentals or spaces without outlets. Position lights 12-15 inches above art, angled at 30 degrees. In windowless hallways, aim for 30-50 lumens per foot of wall space.
How do I create a cohesive look with multiple prints?
Create cohesion by maintaining a consistent color palette (limit to 3-4 main colors), using the same frame style throughout, keeping similar visual weight (mix of simple and detailed), and choosing a unifying theme (all botanical, all abstract, all black and white). Vary sizes within a narrow range (16x20 to 24x30) rather than mixing very small with very large.
Should I use glass or non-glare glass for hallway frames?
Use non-glare (museum or anti-reflective) glass for hallways with overhead lighting or windows, as it reduces distracting reflections when viewing art while walking. Regular glass works fine in dim hallways with minimal direct light. Consider acrylic for high-traffic homes with children—it's lighter and shatter-resistant while still protecting prints.
What hallway art works best with kids and pets?
For homes with children and pets, hang art at 60+ inches (higher than the standard 57 inches) to keep it out of reach. Choose wipeable frames, avoid glass at low levels, and select prints that can be replaced affordably. Abstract, geometric, or botanical prints hide dust and fingerprints better than crisp photography. Consider canvas or acrylic-mounted prints instead of framed with glass.
How do I hang heavy art in a hallway without damaging walls?
Use proper anchors rated for your wall type: drywall anchors for hollow walls, masonry anchors for concrete or brick. For prints over 10 pounds, use two hanging points instead of one. Picture rail systems or command strips work well for renters. Always hang into studs when possible—hallways often have studs 16-24 inches apart along both sides.
Can I use colorful prints in a small, dark hallway?
Yes—colorful prints actually work better in small, dark hallways than dark or muted prints. Bright, warm colors (coral, yellow, warm pink, turquoise) reflect available light and energize dim spaces. Avoid all-dark prints which disappear in low light. Pair colorful prints with adequate lighting (LED strips or picture lights) for maximum impact.
What's the difference between canvas and framed prints for hallways?
Canvas prints have a frameless, contemporary look with wrapped edges, taking less visual space—ideal for narrow hallways under 42 inches wide. They're lightweight and less breakable. Framed prints offer more protection, a finished look, and traditional appeal. For hallways, thin-framed prints (under 1 inch frame width) provide the benefits of both: finished look without bulk.
How often should I change hallway art?
Rotate hallway art seasonally (every 3-4 months) to keep the space fresh and engaging, or change annually if you prefer stability. Seasonal rotations work well: light florals for spring/summer, warm-toned prints for fall/winter. This approach lets you build a collection of 8-12 prints and rotate them, keeping your hallway interesting without major expense.
Featured Hallway Print Collections
Transform your hallway with curated prints designed specifically for narrow spaces. Browse the full TimmyLoves Hallway Prints Collection featuring:
- Abstract & Geometric Prints: Bold, modern designs that create movement and energy
- Botanical & Nature Prints: Bring life and freshness to windowless corridors
- Typography & Quotes: Add personality with meaningful phrases and motivational words
- Colorful Prints: Vibrant designs that brighten dim hallways and add warmth
- Black & White Prints: Timeless, sophisticated options that work with any decor
All prints available in multiple sizes perfect for hallway spaces (16x20, 20x24, 24x36 inches)
Free shipping on orders over £60 | Premium archival paper | Ready to frame
Transform Your Hallway Today
Your hallway doesn't have to be a boring passageway. With the right prints, proper sizing, and strategic placement, you can transform it into a stylish gallery that reflects your personality and makes a lasting impression on guests.
Key Takeaways:
- Use 16x20 to 24x36 inch portrait-oriented prints in standard hallways
- Hang at 57-60 inches from floor to center
- Space multiple prints 40-60 inches apart
- Choose light or colorful prints for narrow or dim spaces
- Create gallery walls with odd numbers (3, 5, 7, 9) for visual balance
- Maintain consistent frame style throughout for cohesive flow
Start with 3-5 coordinating prints, test arrangements with paper templates, and don't be afraid to adjust as you go. Your hallway will become one of your favorite spaces in your home.
Ready to start? Explore the complete hallway prints collection at TimmyLoves and find the perfect pieces for your narrow space.
About the Author: This guide was created by the TimmyLoves design team, specialists in helping homeowners transform overlooked spaces with carefully curated wall art. With thousands of hallways styled and years of experience in spatial design, we understand the unique challenges and opportunities narrow spaces present.
